Residential Sprinklers Installation
We install from start to finish
Residential Sprinkler Installation
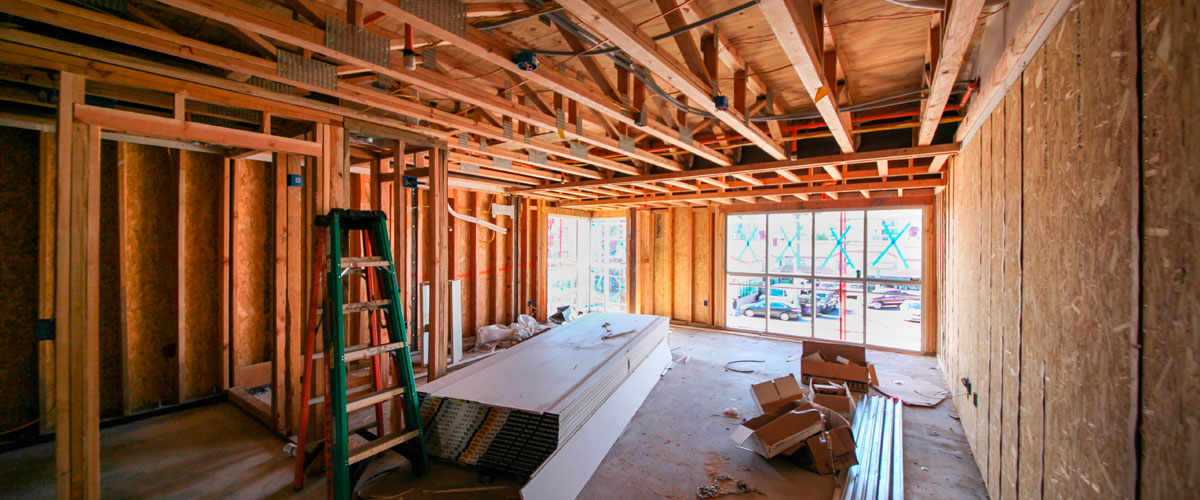
Once sprinkler positions have been approved by the client, we can begin the installation of the sprinkler system.
Typically a residential system will be installed with CPVC blaze master pipework and concealed sprinkler heads.
CPVC pipework will be installed from the sprinkler control set (Location may be agreed on site or at design stage) and distributed to the sprinkler heads. The pipework will be secured with fixings and attached to fittings using solvent cement. Ideally, sprinkler heads will be installed while the ceiling is down; this allows us to pressure test the whole system and repair any leaks. Sprinkler heads can be gauged using a datum line or a Metal Frame (MF) ceiling grid to ensure that the cover plate fits flush with the finished ceiling.
CPVC pipework will be installed from the sprinkler control set (Location may be agreed on site or at design stage) and distributed to the sprinkler heads. The pipework will be secured with fixings and attached to fittings using solvent cement. Ideally, sprinkler heads will be installed while the ceiling is down; this allows us to pressure test the whole system and repair any leaks. Sprinkler heads can be gauged using a datum line or a Metal Frame (MF) ceiling grid to ensure that the cover plate fits flush with the finished ceiling.
Please note: Ceiling voids need to be a minimum of 150mm to install sprinklers, this allows for an elbow and the sprinkler head.
It is possible to reduce this slightly however this can have an effect on cost due to installation times and specialist fittings.
Once the first fix sprinkler pipework and heads have been installed, we will pressure test the system with water at a pressure of 1.5 times the working pressure of the system, this is usually 8-10Bar. Once the pressure test is complete and every joint has been visually inspected, we will leave the sprinkler heads with protective caps on so that the ceiling can be installed leaving a hole large enough for the cover plates.
As soon as the ceiling has been installed and fully decorated, an engineer will return to site to remove the decorative cap and install a white cover plate flush with the ceiling.